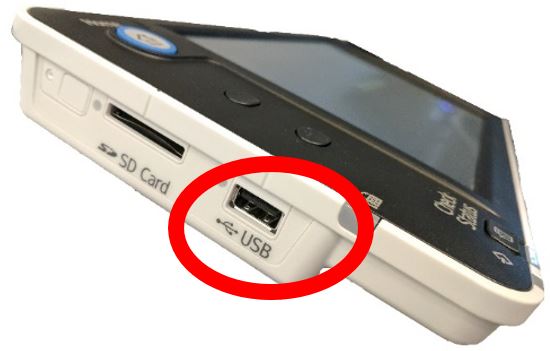
Plug your USB drive into the USB port on the left side of the panel.
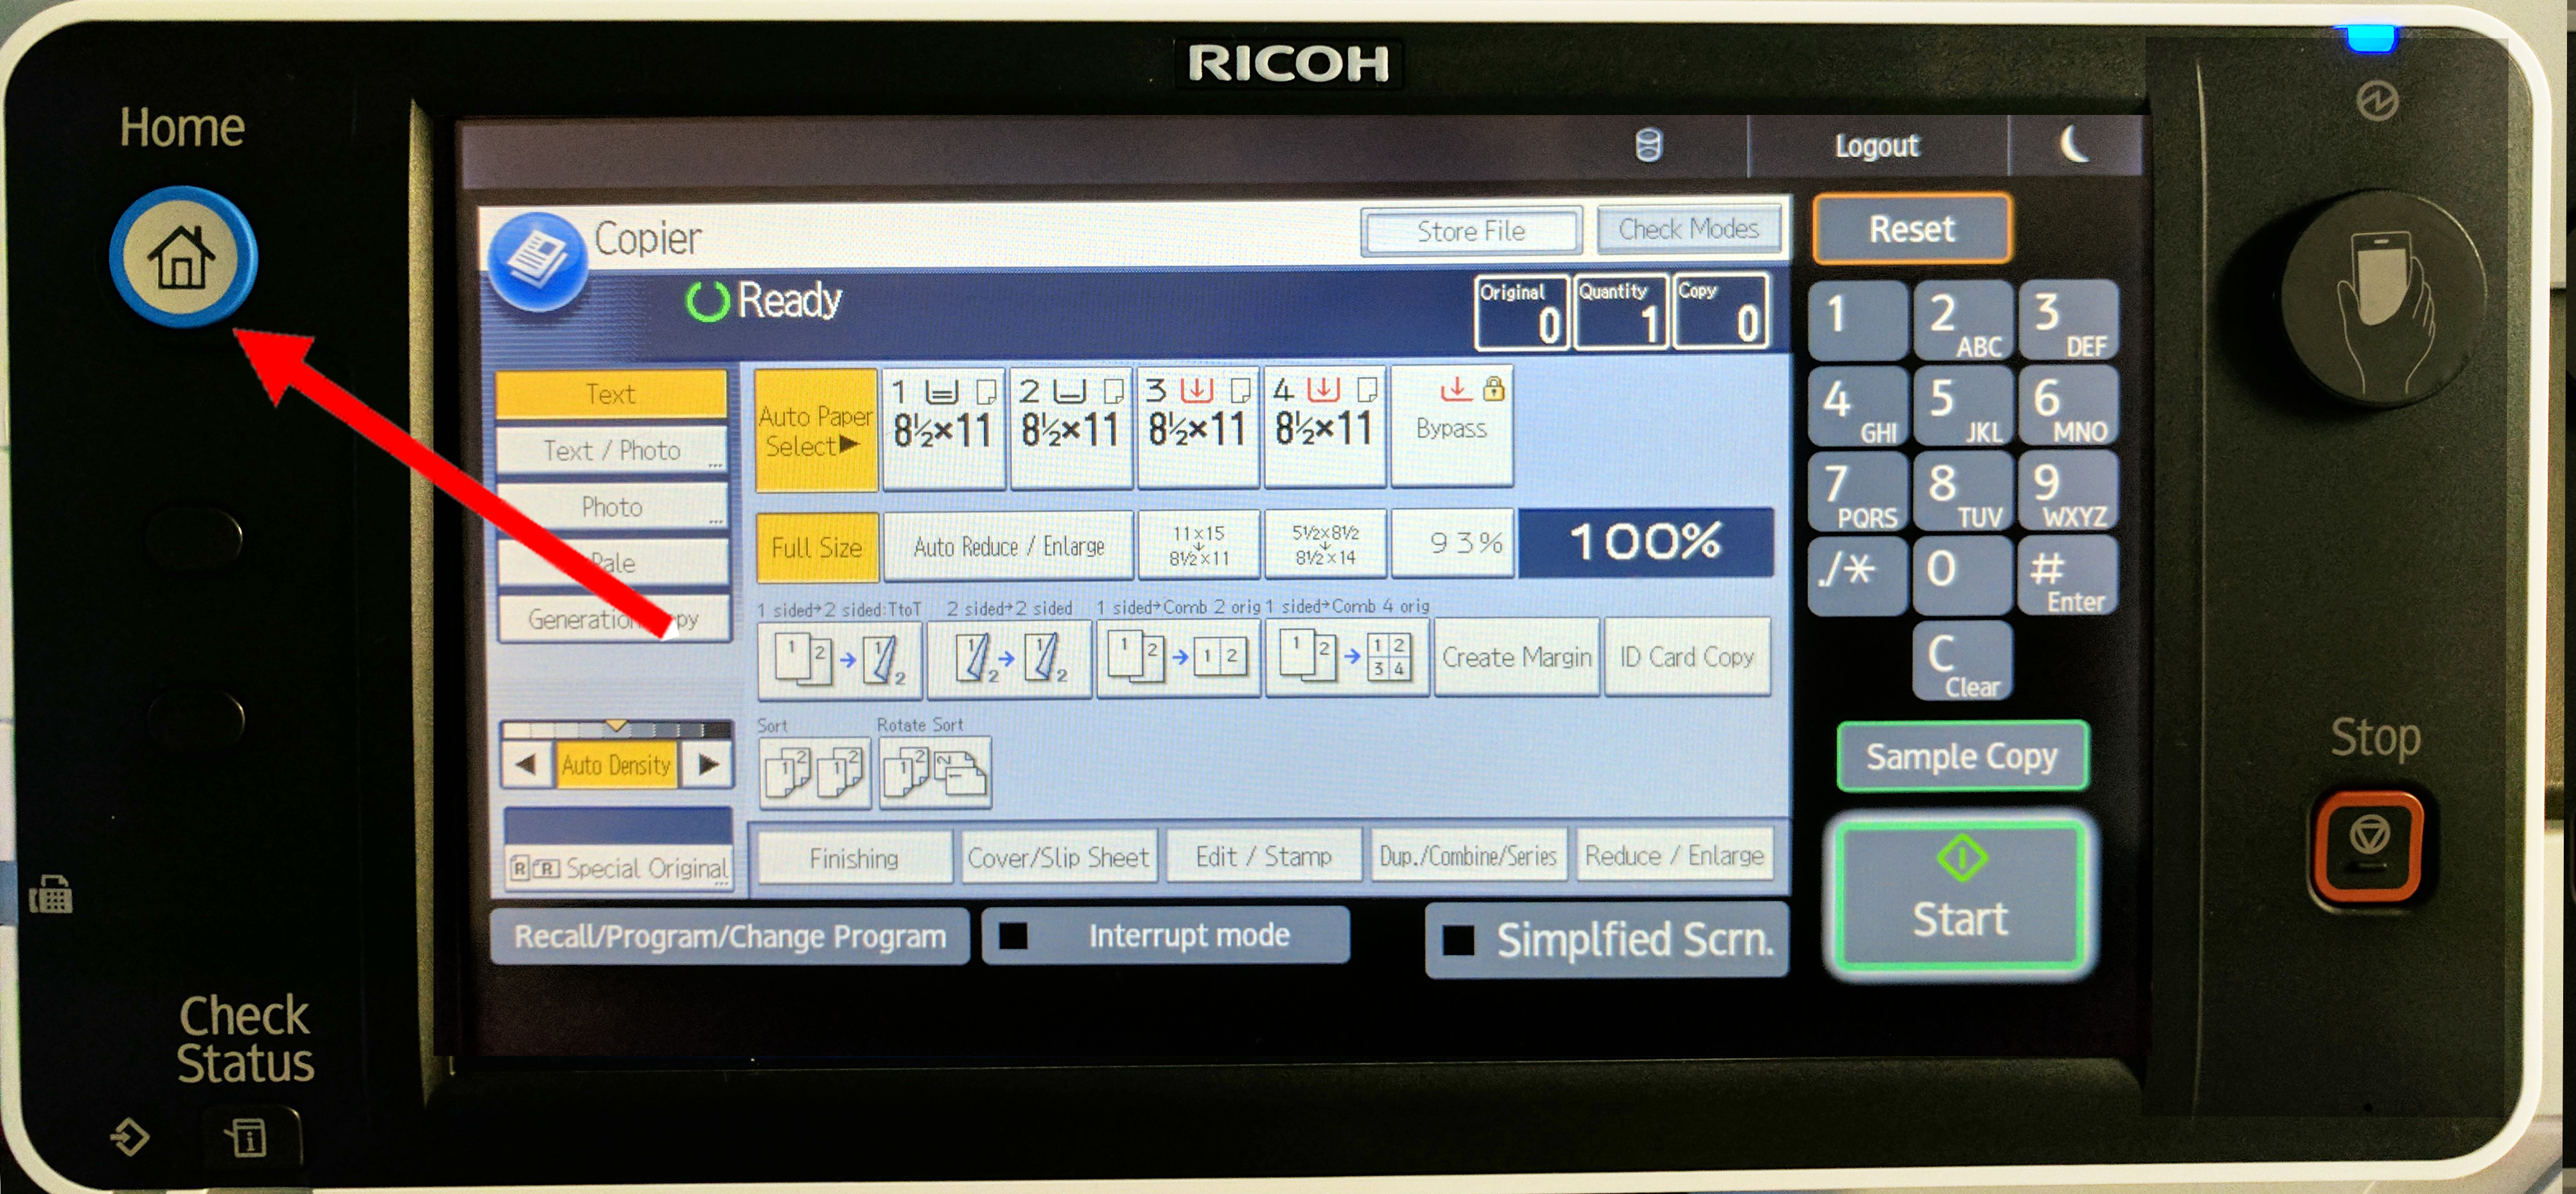
Get your code and log in as described in the "Using the Library's Photocopiers" page. To switch from photocopying to scanning, press the Home button.
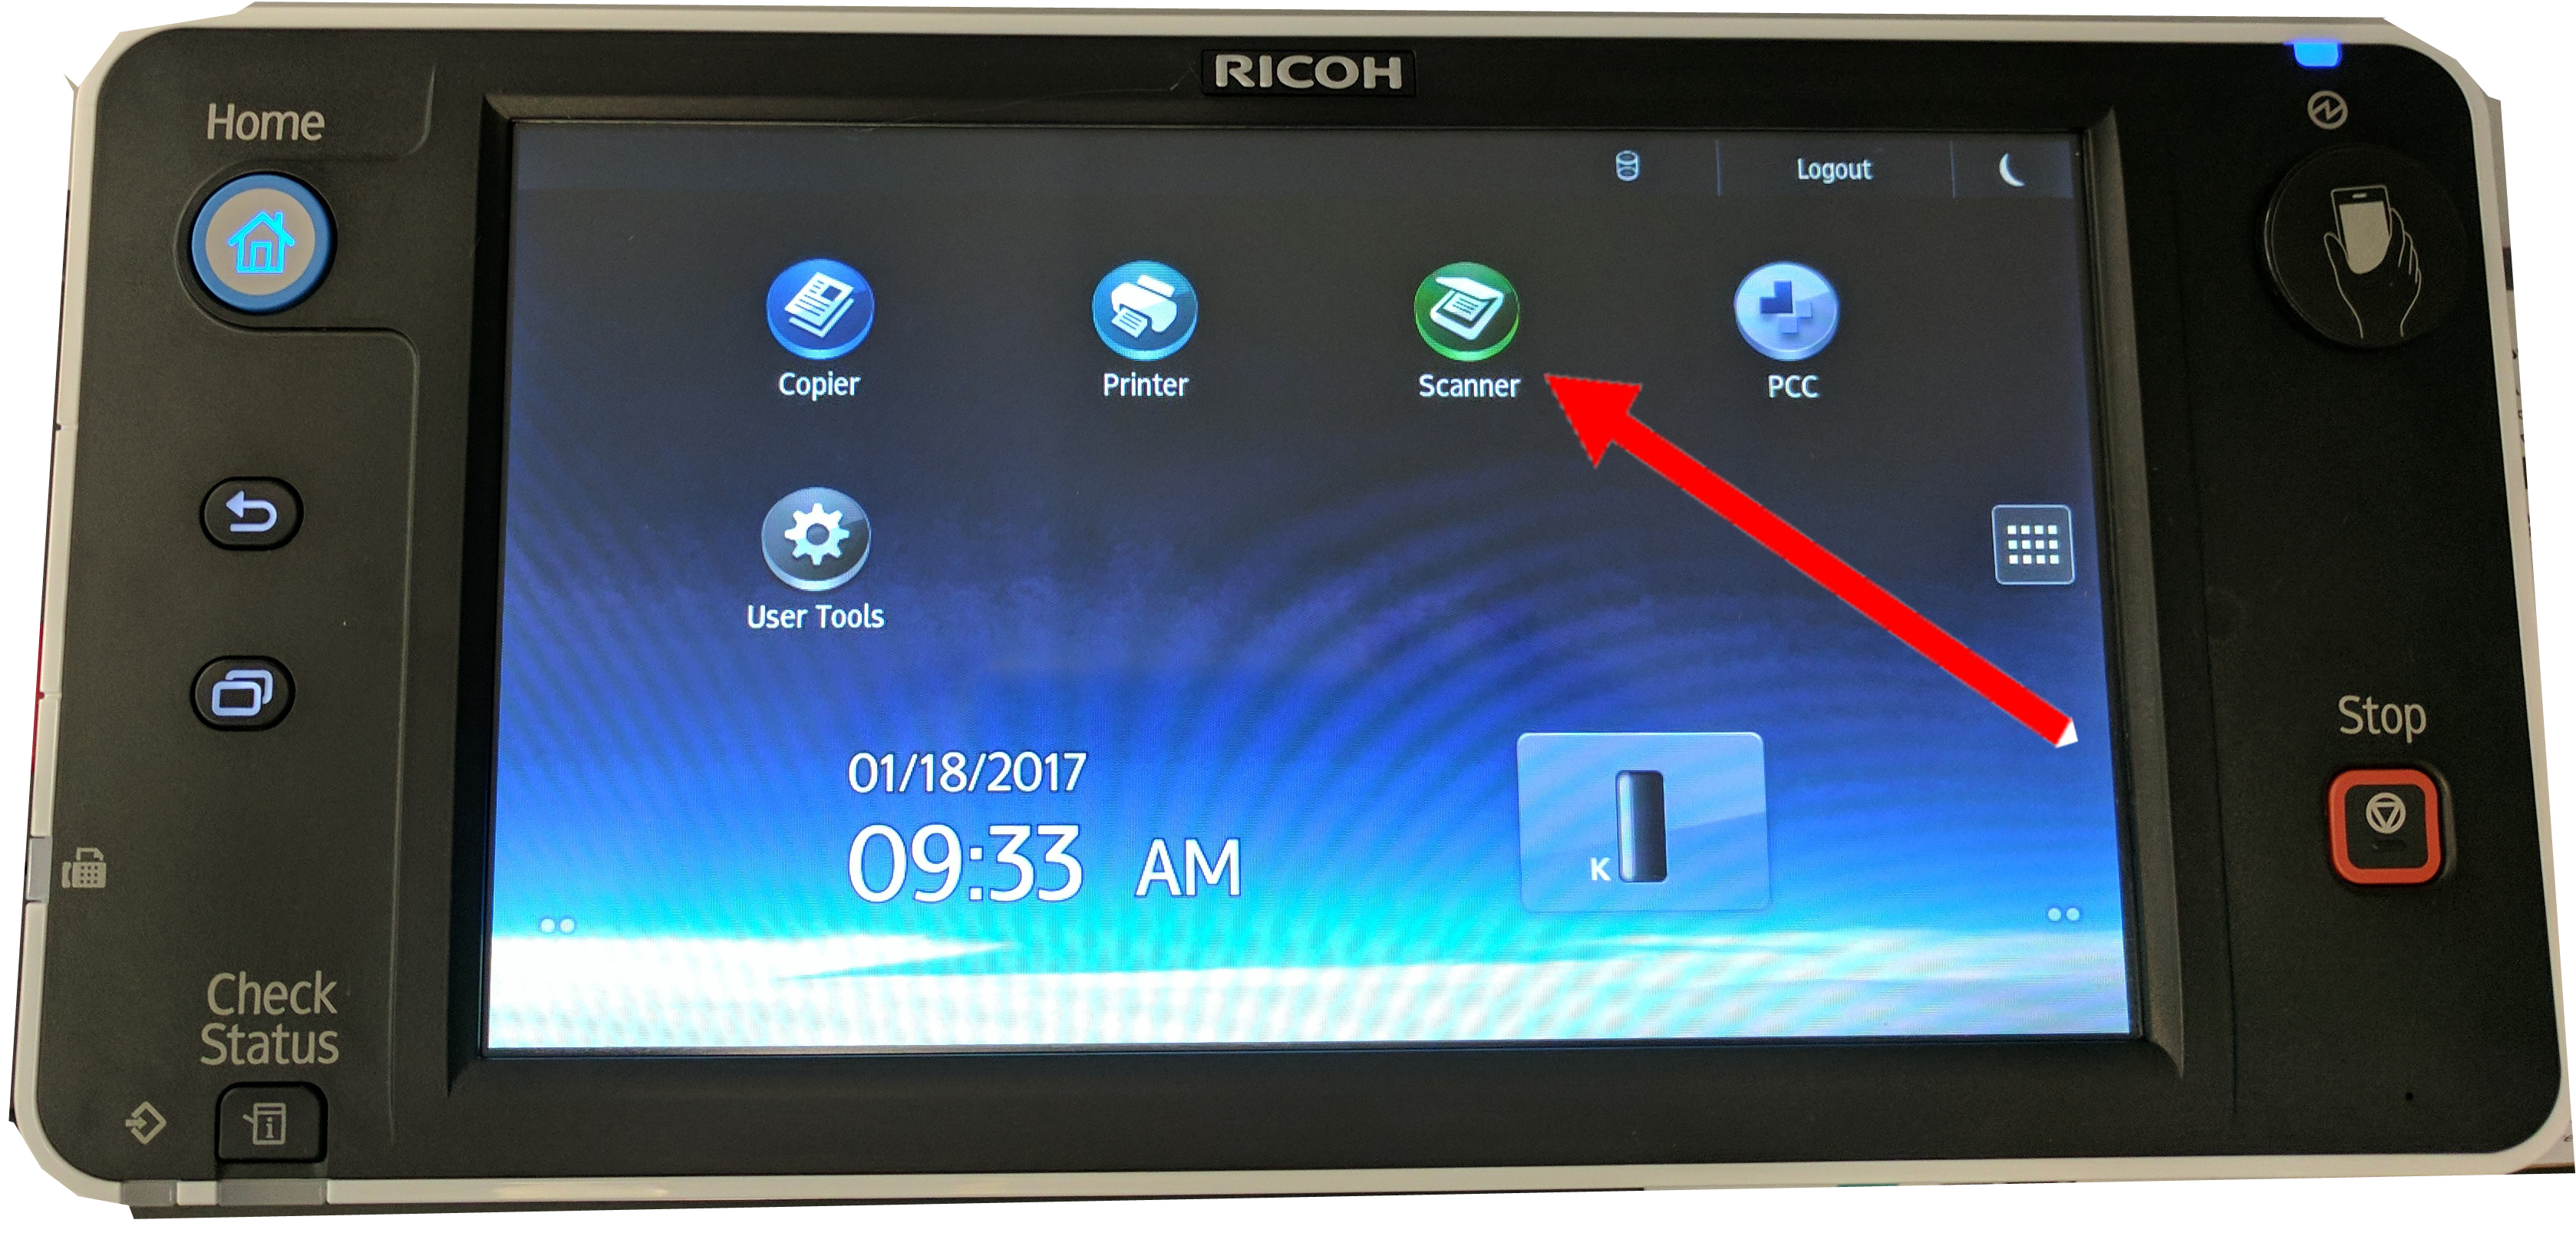
Press the Scanner icon.
Press "Store File" (e). (NOTE: If you don't see the "Store File" button, press the "Simplified Scrn." button at the bottom right of the screen to remove the check mark that is there.)
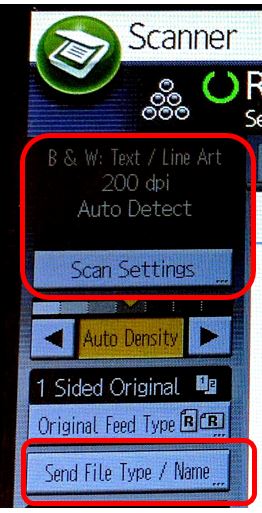
Scanning options default to B&W with a resolution of 200dpi and a file type of TIFF. If you want to change from B&W to color or to a different resolutions, press "Scan Settings"; if you want to save your file as a PDF, press "Send File Type / Name..."
Press "Store to Memory Device" (f).

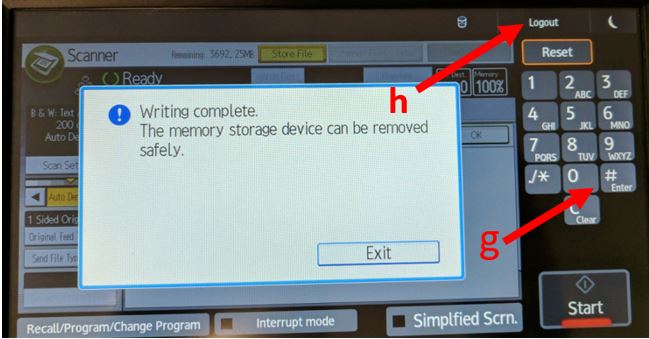
Make sure you have your document loaded on the copier and press the Start button. Press the # key (g) to end the scan, or, if you want to scan an additional page, do so within 1 minute; you must press # (g) after your final scan. When your scan is complete, you'll get a message that says "Wring complete," and you can remove the USB drive and your document. Press Logout (h).
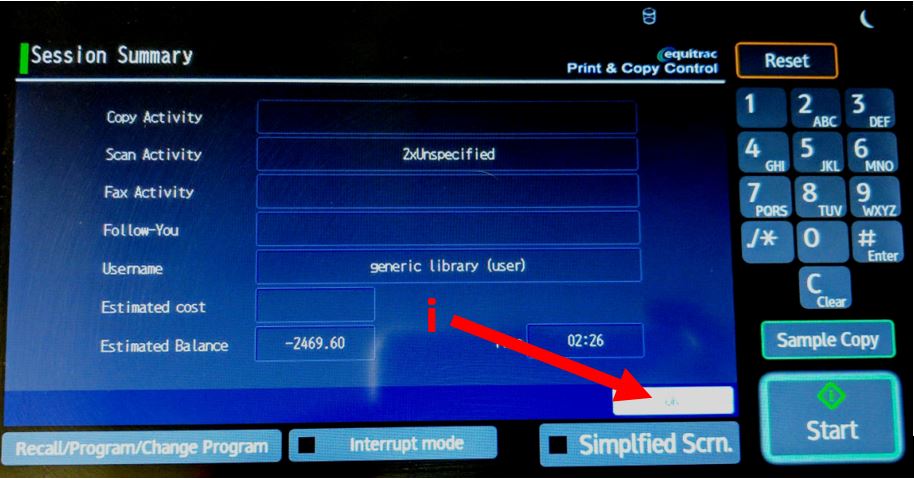
On the Session Summary screen, press OK (i) to end the scanning process.